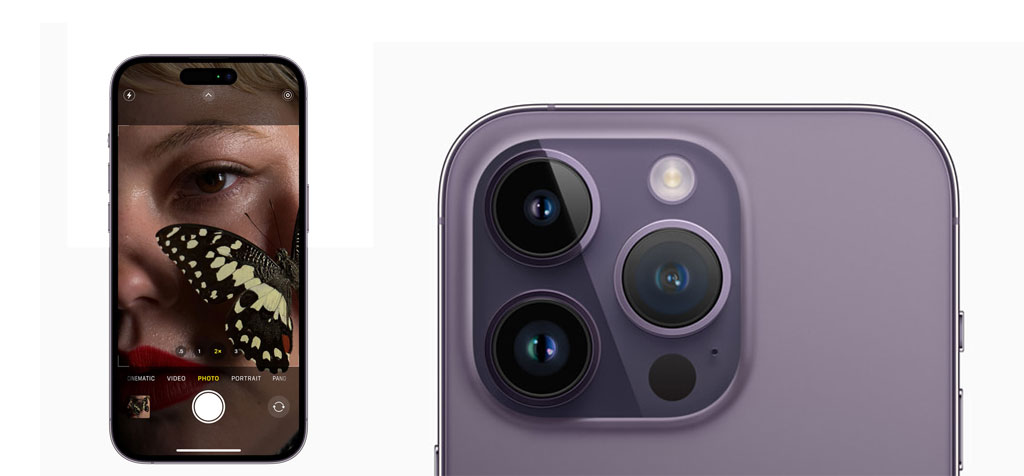
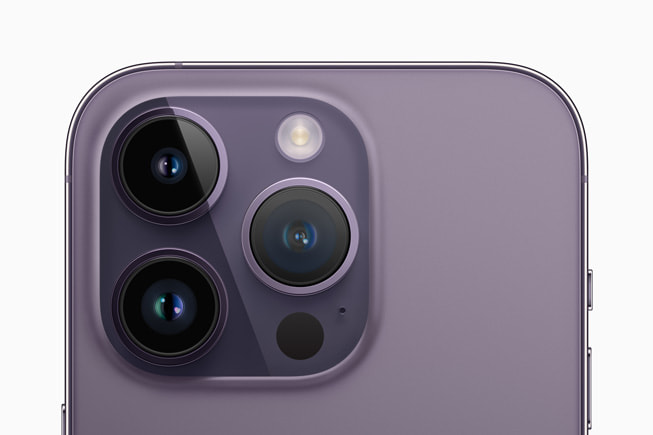
How to use iPhone Pro Camera Mode, If you’re someone who loves taking photos with your Apple iPhone, you may have heard of the Pro camera mode.

The Pro camera mode is an advanced camera feature available on iPhones that allows you to take photos like a professional photographer.
In this article, we will guide you on how to use IPhone Pro Camera Mode.
Step 1: Access the IPhone Pro camera mode
To access the Pro camera mode, open the Camera app on your iPhone and swipe left until you reach the Pro camera mode. The Pro camera mode is indicated by a “Pro” label at the top of the screen.
Step 2: Adjust the exposure
The first thing you need to do before taking a photo in the Pro camera mode is to adjust the exposure.
To adjust the exposure, tap on the yellow sun icon on the right side of the screen. Then, swipe up or down on the screen to adjust the exposure level.
This is particularly helpful when taking photos in low-light conditions.
Step 3: Tap the desired on IPhone
Tap the desired location on the screen to change the focus. This will bring up a yellow box with a sun icon.
You can then swipe up or down on the screen to adjust the exposure level for the area you want to focus on.
Step 4: Adjust the white balance
White balance is the color temperature of the light in your photo. To adjust the white balance in the Pro camera mode, tap on the “WB” icon on the left side of the screen.
The color temperature may then be changed on the screen by swiping left or right.
The warmer the temperature, the more yellow and orange tones will appear in the photo, while cooler temperatures will produce blue tones.
Step 5: The shutter speed
The shutter speed may be altered The shutter speed of a camera refers to the length of time the shutter is open, enabling light to reach the sensor.
To adjust the shutter speed, swipe left or right on the screen. Faster shutter speeds let less light to reach the camera’s sensor whereas slower shutter speeds permit more light to reach it.
Step 6: The ISO level
The camera’s sensor’s ISO is a measure of how sensitive it is to light. The “ISO” symbol is located on the right side of the screen. Tap it to change the ISO.
In order to change the ISO level, swipe upward or downward on the screen. Higher ISO levels will make your photo brighter but may also produce more noise or grain in the photo.
Step 7: Take the photo
Once you’ve adjusted all the settings to your liking, tap on the shutter button to take the photo. The photo will be saved to your camera roll.
Conclusion
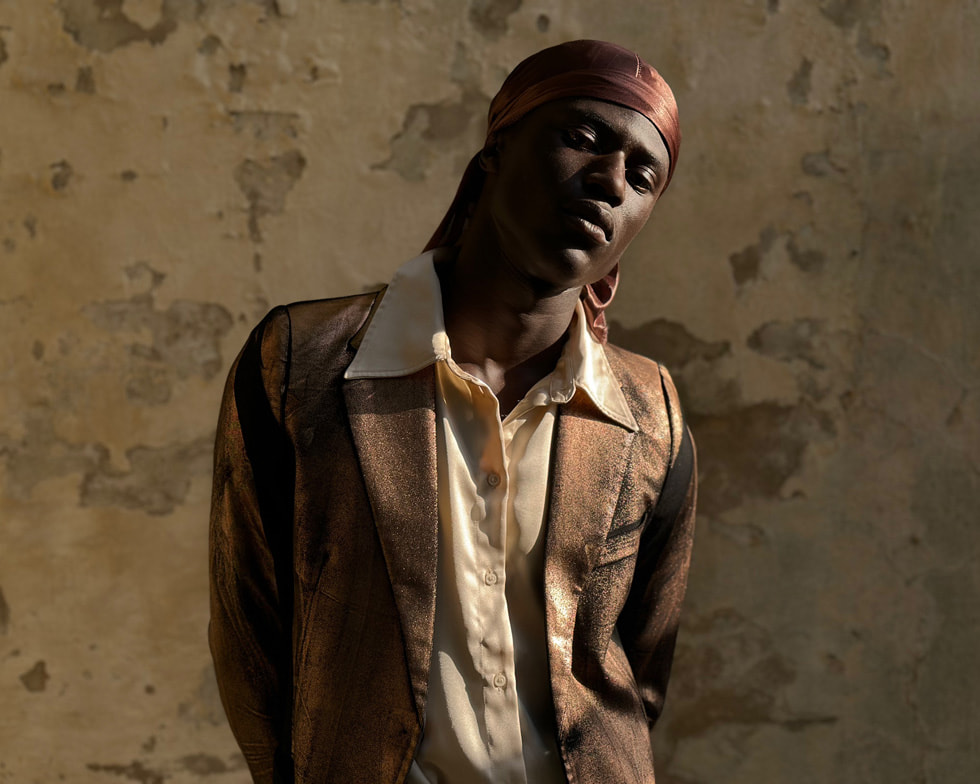
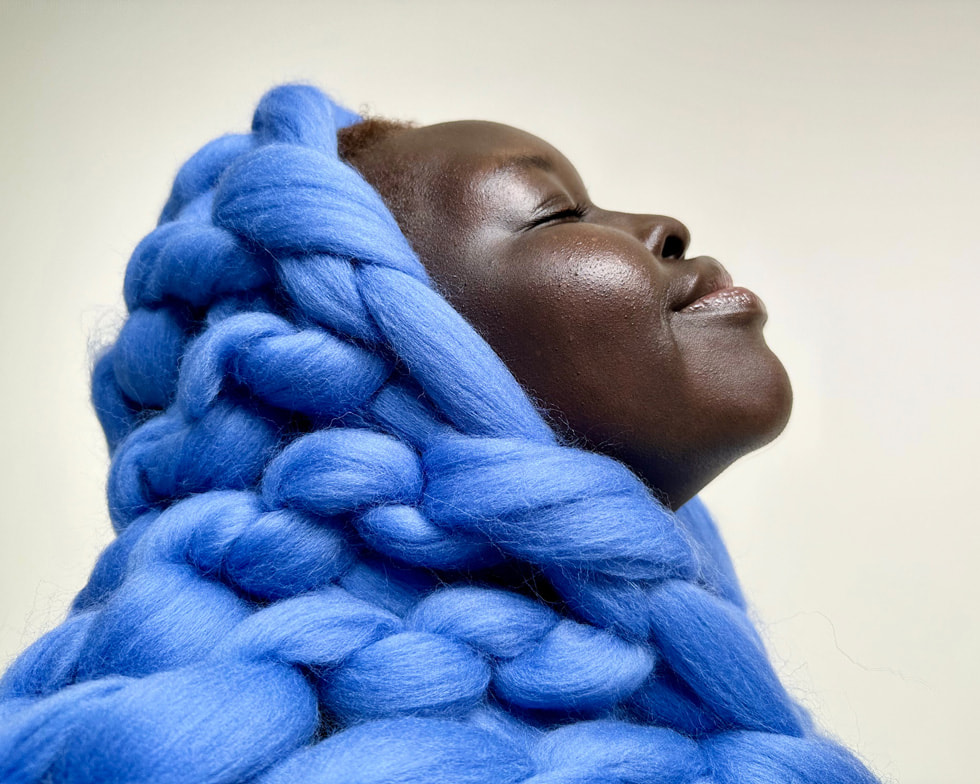
The Pro camera mode on your Apple iPhone allows you to take photos like a professional photographer. By adjusting the exposure, focus, white balance, shutter speed, and ISO, you can control every aspect of your photo. So, the next time you’re out and about, give the Pro camera mode a try and capture some stunning photos.
References
Featured Image > Apple Official
Image 1 > Apple Official
Image 2 > Apple Official


